Saturday, February 1, 2014

Lemon Meringue Pie

Oh, Lemon Meringue Pie....how I love thee!!!!!! 


Ingredients (filling):
1 1/2 cups sugar
1/4 cup cornstarch
1 1/2 cups water
3 egg yolks, slightly beaten
3 TBSP butter
4 TBSP lemon juice
1 1/2 TBSP lemon zest

Ingredients (meringue):
3 egg whites
1/4 tsp. cream of tartar
1/4 cup sugar
1/2 tsp. vanilla


Preheat oven to 400 degrees
Bake your pie crusts ahead of time. 
*I cheated and used store bought pie crusts....you can make your own if that's what makes your heart smile! ;)


Directions:

I make the filling first. So....

Juice lemons until you get 4 TBSP worth. 
Set aside. 
(Don't throw the lemons away. You'll use them for the zest!)


Then, zest your lemons. 
You need 1 1/2 TBSP of zest.
Set it aside.


In a sauce pan, mix 1 1/2 cups sugar, 1/4 cup cornstarch, 
and gradually add the water.


Cook over medium heat and stir constantly until the mixture thickens and starts to boil.


We forgot to separate the eggs and egg yolks
 ahead of time but it's ok.
Here's Haley doing an awesome job of separating 3 eggs.


You don't want to get ANY of the yolk in the egg white mixture because it doesn't help the meringue get stiff peaks.
We're going to take our chances! We're risk takers! ;)


Anyway, back to the filling. 
Here is what it should look like when it thickens.


Add the egg yolks to the mixture! 
Obviously we didn't slightly beat our egg yolks but we just mixed them into the mixture and it worked just fine! 
Boil for one minute, stirring constantly.
Remove from heat.


It should look like this! Nice and yellow!


Remember the lemon zest and juice?


Add it to the yellow mixture now!
Along with the 3 TBSP of butter. 
You don't have to melt the butter ahead of time. The filling is hot and will melt the butter! Awesome!


Fill your baked pie crust and set aside.


On to the meringue!
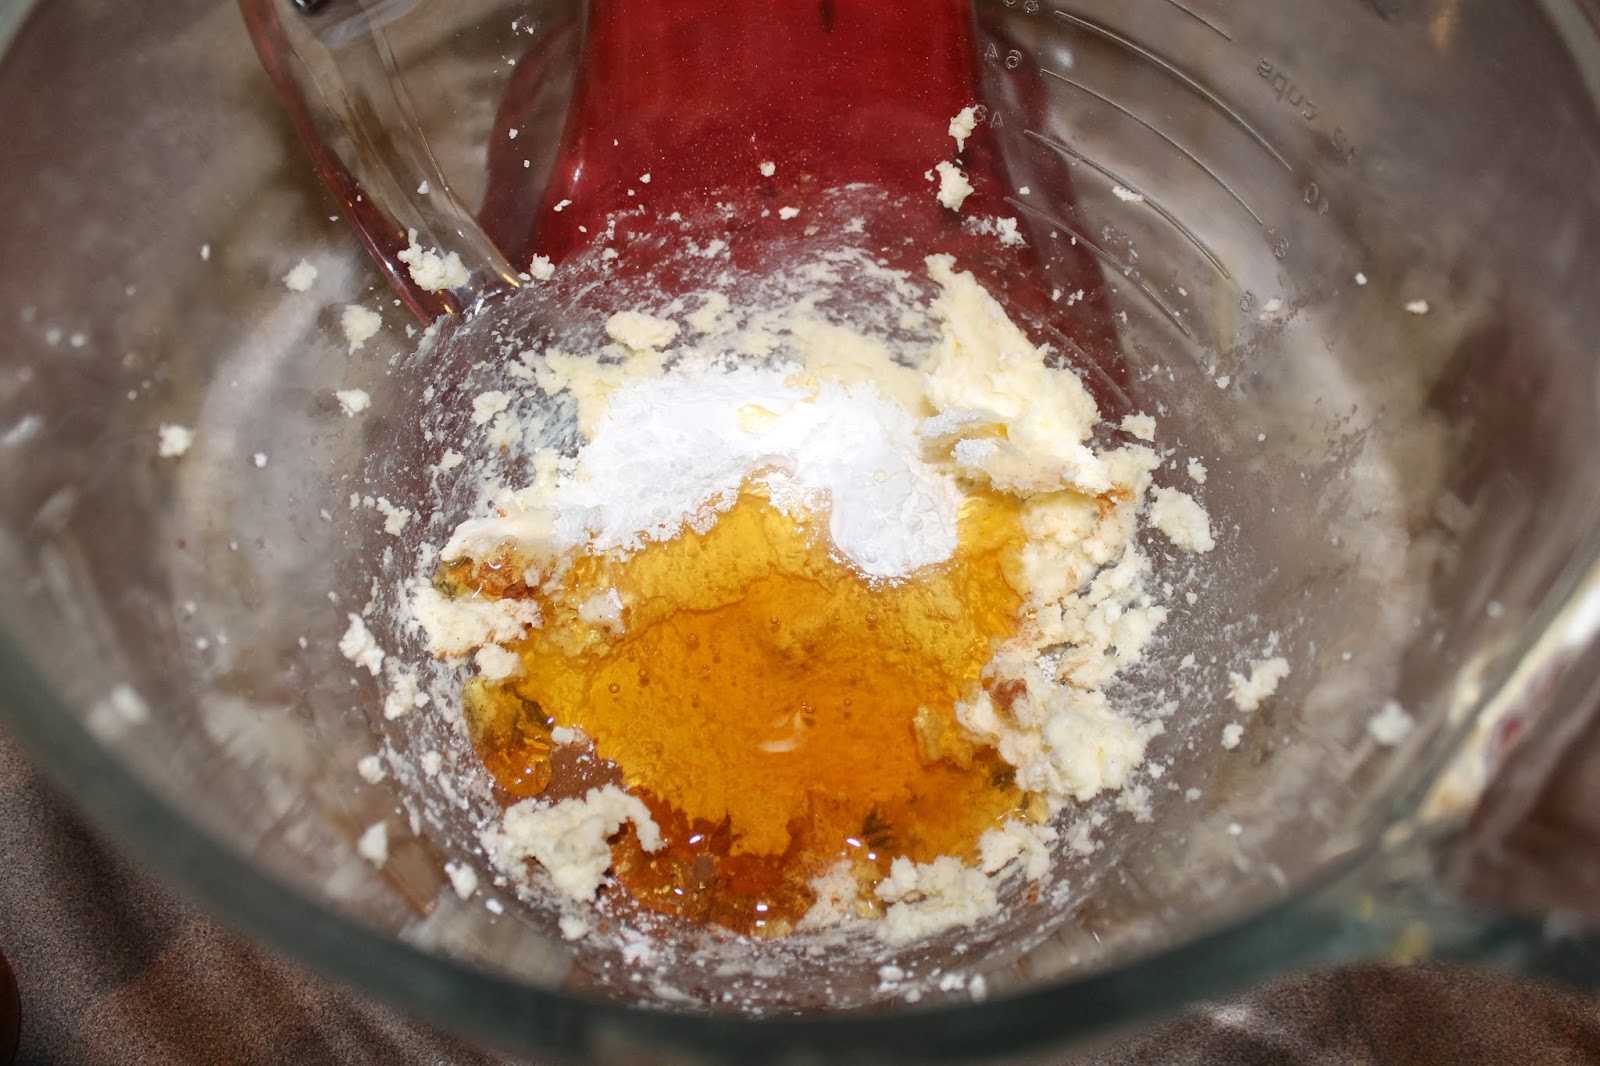
Mix the 3 egg whites and 1/4 tsp. cream of tartar 
and 1/2 tsp vanilla.


You want it to look frothy.
This is important: add the 1/4 cup of sugar only 1 tsp. at a time and mix on a high speed. It takes awhile to form stiff peaks.
Seriously, make sure you add the sugar slowly!


And you keep on mixing! 
Thank God for Kitchen Aids! I can just watch it do the hard work!


Eventually, it'll thicken enough and you'll be 
able to form the stiff peaks.


Spread the meringue onto the filling and with a 
flat spoon or spatula, pull up stiff peaks.
Make sure to cover and seal all the edges or the meringue will separate from the crust. 
It will still be edible, it just won't look AS pretty! ;)


Haley and I baked two pies!


Bake for 10 minutes, until meringue is slightly brown.
Let it fully cool, then refrigerate for at least 1 hour!
That's the hard part! ;)

My sweet Haley was a fantastic helper and is so proud of her first Lemon Meringue Pie!


Happy Baking!


Thursday, January 30, 2014

Sopapillas & Honey Butter

Sopapillas are so stinkin' delicious! 
I don't know why I do this to myself but I make them and always manage to eat at least 5!
This time, I had to take some to neighbors and friends so I could get them out of my house. FAST!!!


Ingredients:
2 1/4 tsp (or 1 packet) Active Dry Yeast
1 1/2 cups warm water
1 TBSP sugar
4 cups flour
1tsp. salt
1/2 tsp. cinnamon
1 TBSP melted butter
oil for frying

Directions:

In a bowl, stir warm water and sugar until the sugar dissolves.

Stir in the yeast and let it activate (about 5-10 minutes).


It should look like this when it's activated. Maybe foamier. 
You'll wonder why foamier sounds like such a weird word!
Or at least I did! ;)


Anyway, in a separate bowl, 
add 4 cups flour, 1 tsp. salt, and 1/2 tsp. cinnamon. 
Stir it all together!


Remember the foamy yeast mixture?


Add it to the dry ingredients, along with the 1 TBSP melted butter.

And get your hands all dirty! Yay! 
You may want to wash them first! 
Or, you can totally just start mixing. Germs are cool! ;)


When you get it into a loose dough ball, 
remove it from the bowl and onto a floured counter.
Knead for about 5 minutes.


When you get it into a pretty ball like this, 
put it back into a bowl sprayed with PAM or oil.
You don't want it to stick to the bowl when it rises.
It won't be fun....I PROMISE! :)


Cover the bowl and let it rise for 1 hour!


The dough ball will double in size...or almost double.
When this happens, punch it down....go ahead, take out all of your frustrations of the day! JK!

Then, on a floured counter, use a rolling pin to roll out the dough.


Until it's about 1/4 inch thick or so. 
I don't know how you measure that....just guess! LOL!


Cut the dough into any shape you like! 
I used cookie cutters and a pizza cutter!
My sopapillas are hearts and triangles!


In a large pot, heat the oil. 
You want to put enough oil so that the sopapillas 
will float while frying.


Once the oil starts bubbling, add your dough shapes!
Fry for 45 second to 1 minute on each side, or until brown.


Remove them from the oil onto paper towels 
to absorb the excess oil.


Add cinnamon and sugar right away!
Otherwise, it won't really stick to the sopapillas.
You want that cinnamon sugary goodness to stick! ;)


Have your little one add more cinnamon and sugar if you want! 
Haley felt like they needed more!


And TA-DAH! 
Deliciousness!

Serve with honey.
Or honey butter.
Or, just eat them however you want!

To make honey butter, add 1 part honey to one part butter and cook until melted. (You can microwave it if you'd rather!)

Here's another recipe I like that's similar to Texas Roadhouse's honey butter version. It's thicker than the honey butter usually eaten with sopapillas but still very yummy!

Ingredients:
1 stick butter (room temperature)
1 cup honey
1/2 cup powdered sugar
1 tsp. cinnamon

Directions:

Using a stand mixer or hand mixer, mix the butter for about a minute.

 Until it's nice and creamy!


Add the honey, powdered sugar and cinnamon.


Mix it all together for 1 minute.


Doesn't it look yummy??!!


I warm it up on the stove or microwave 
and drizzle it on the sopapillas!!


Happy Baking!


Tuesday, January 21, 2014

Oh-So-Chewy Oatmeal Raisin Cookies


Oatmeal Raisin Cookies are my FAVE kind of cookies!! 

After playing in the snow today, my kiddos asked me to bake them some cookies, and I happily obliged! ;)

And of course, I'm going to share the recipe with you!
I'm not gaining 5 pounds without ya! ha!

Ingredients:
2 cups flour
1 1/2 cups old fashioned oats
1 1/2 cups raisins
1/2 tsp. baking soda
1/2 tsp. salt
3/4 cup butter (1 1/2 sticks), melted
1/2 cup white sugar
1 cup brown sugar
1tsp. cinnamon
1 TBSP vanilla extract
1 egg, plus 1 egg yolk

Preheat oven to 325 degrees
Line cookie sheets with wax paper or parchment paper

Melt butter and let it cool.

Then, in a medium bowl, mix flour, baking soda and salt.
Set aside.

Cream together the melted butter, brown sugar and white sugar.


Beat in the cinnamon, vanilla, egg and egg yolk
for about 2 minutes.


You want it to be creamy.


Add the flour mixture and blend by hand.


Add the old fashioned oats and raisins.


You want it to just blend into the mixture.


Scoop out 1/3-1/4 cup balls of dough and 
place onto the cookie sheets lined with parchment paper.


Bake for 15 minutes, or until edges are golden brown.


Enjoy!

Happy Baking!


LinkWithin

Related Posts Plugin for WordPress, Blogger...